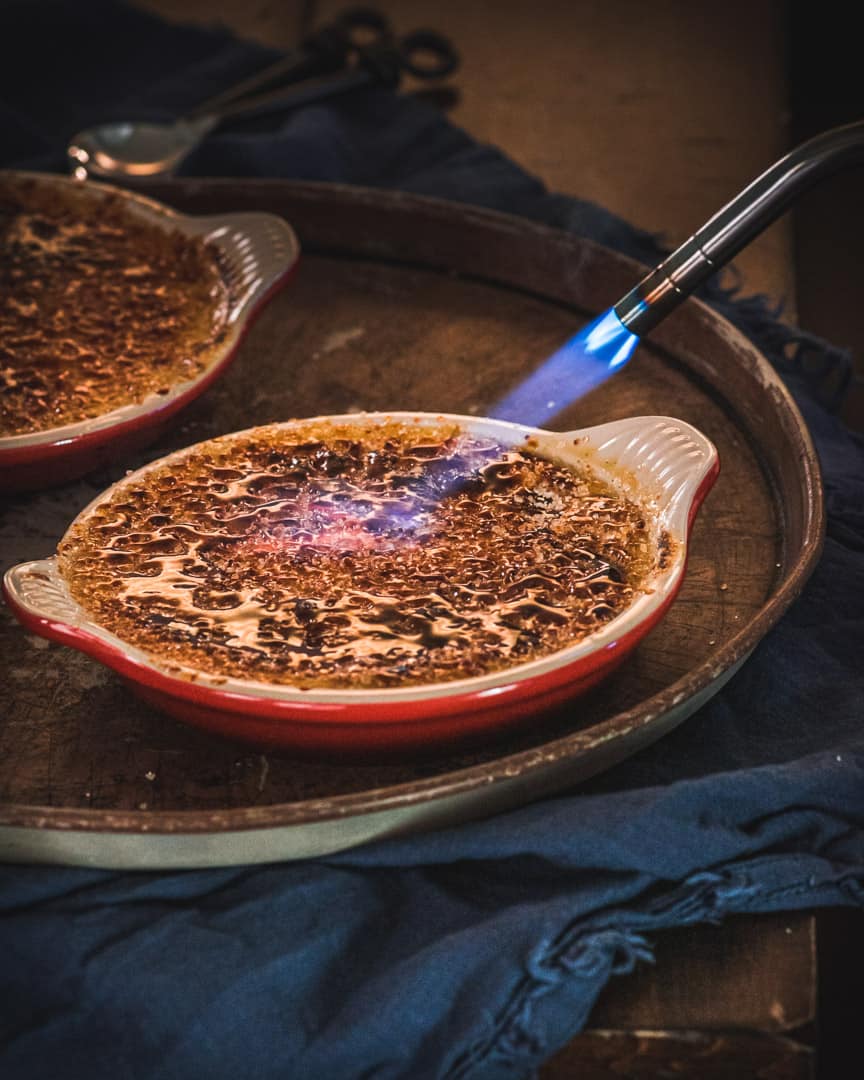
Crème brûlées are often perceived as difficult to make, requiring some kind of special technique, skill, or a lot of practice to get them right. They are actually one of the easier desserts to make! And as long as you have a kitchen torch, you can achieve that beautiful sugary glass top that cracks perfectly when you are ready to eat it. But don't worry, you can still achieve a nice caramelized surface without a torch as well. A classic dessert that will impress your guests, but won't leave you exhausted, this Vanilla Bean Crème Brûlée recipe is delicious and easy!

Do I really need a kitchen torch?
Not really, although you will get a much better effect if you do. The other method of getting a caramelized sugar layer on top is to broil the crème brûlées for 2-5 minutes. This can result in an uneven caramelization, and using a kitchen torch is much easier and more efficient. And who doesn't want to own a kitchen torch, right?? Here is a good option for a Kitchen Torch from Sur la Table (PS, it is on SALE!).
What type of sugar is best for Crème Brûlées?
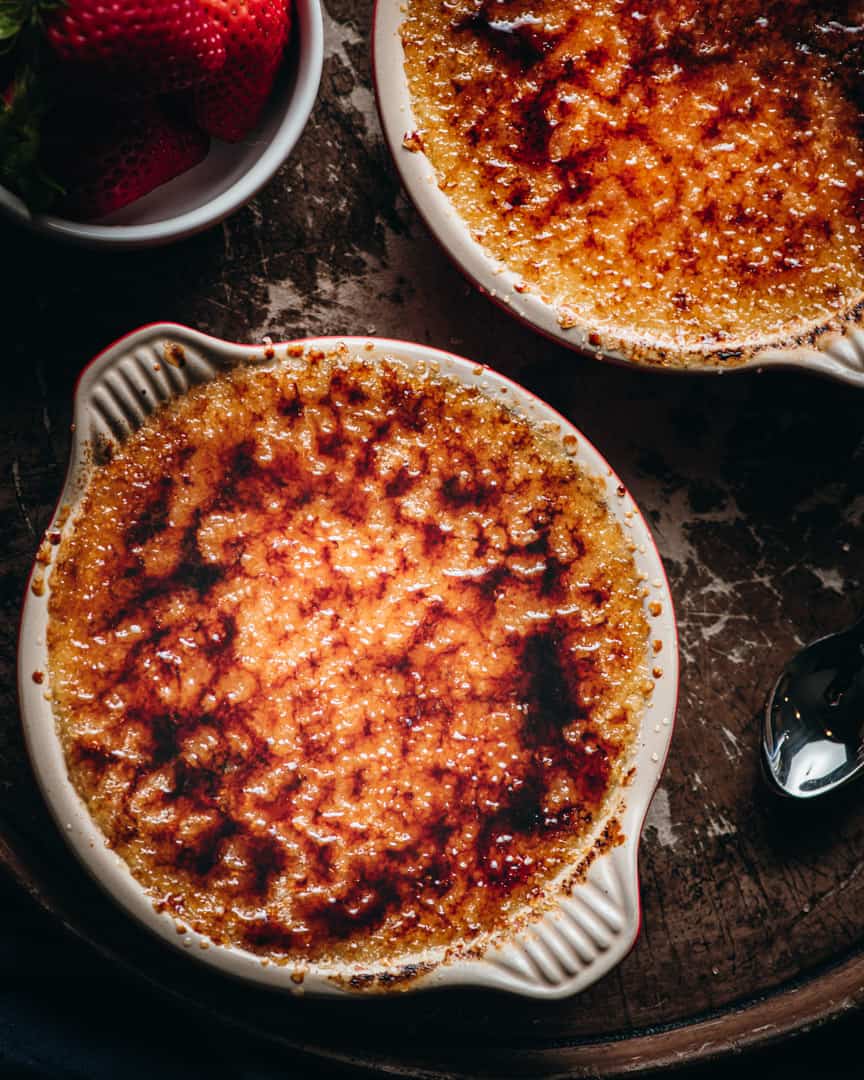
You can use regular white granulated sugar, but superfine sugar will often result in a better brûléed surface. You can also experiment with brown sugar to determine which taste profile you prefer. Using sugar that is too course may result in a surface that is too thick with some places that are not fully caramelized. If you can't find superfine sugar, you can make your own by putting sugar in a food processor or spice grinder and pulse several times.
Do make sure whatever sugar you use that you use enough sugar so that you do not heat the custard itself. A crème brûlée should have a nice solid caramelized surface but the custard should be chilled.
We hope you enjoy this recipe, and if you give it a try please leave us a comment below or tag us on Instagram @cooking_with_wine.
Check out some of our other popular desserts below:
- Brown Butter and Pecan Rum Cake
- Meyer Lemon Olive Oil Cake with Bavarian Cream & Raspberry Agrodolce
- Texicali Chocolate Sheet Cake
- White Chocolate Raspberry Bundt Cake
- Brown Butter Cardamom Linzer Cookies with Passion Fruit Jelly
📖 Recipe

Vanilla Bean Crème Brûlée
Ingredients
- 32 oz heavy cream
- 1 vanilla bean
- ½ teaspoon kosher salt
- 1 teaspoon vanilla bean paste or vanilla extract
- ⅔ cup sugar
- 5 egg yolks
- Superfine sugar
Instructions
- Preheat oven to 315 degrees.
- Split the vanilla bean in half lengthwise and scrape the pulp out. Put the bean and pulp in a medium saucepan with the cream and salt. Over medium heat, gently bring to a light boil, stirring often. Remove from heat and let rest for 5 minutes.
- While the liquid rests, in a medium bowl, whisk the egg yolks and the ⅔ cup of sugar until pale yellow and combined.
- Remove the vanilla bean pod from the cream and discard the pod. Add the cream to the egg mixture gradually (½ cup at a time) whisking constantly to temper the egg yolk mixture.
- Once combined and mixed, pour the mixture into crème brûlée dishes or ramekins about ⅔ to the top. Depending on the vessel you use will determine the cooking time.
- Place crème brûlées into a baking sheet or roasting pan and fill the pan with warm water halfway up the to the top of your creme brûlée vessel. Place pan into the oven and bake for 20-45 minutes. This will be a visual cook as every crème brûlée dish is different. A wide and shallow dish will take less time than a deep ramekin. Either way, your crème brûlée will be done when the center is still jiggly but the sides have just set. At this point, remove from the oven and let cool for 5 minutes.
- Place crème brûlées in the refrigerator for 2-3 hours.
- At this point, you can put plastic wrap over the crème brûlées and they will last for 4 days in the refrigerator. If serving at this time, remove from the refrigerator and sprinkle about 1-2 Tbs of superfine sugar (depending on the surface area of your dish) over the top of each brûlée as evenly as you can. Using a kitchen torch (or propane/butane torch) melt the sugar gently until you achieve a few very dark brown spots and several caramel colored spots. Ensure all of the sugar has been melted. Let rest a few minutes and serve.


Brooke says
Beautiful. Your recipes are art in action!
Angela and Mark says
Wow! Thank you so much for your kind words!
Toni says
I’ve always wanted to try this dessert but apprehensive to do so. Reading this post gives me the confidence to try it. I do not have vanilla bean pods…can I increase the vanilla bean paste?
Thanks in advance.
Angela and Mark says
Hi there! Yes, you can add 1 tsp of vanilla bean paste for every pod required. I hope you give it a try and let us know how it turns out!!
Annie says
there are so many ads I can’t read your post. It’s pretty annoying.
Angela and Mark says
Oh no! Sorry about that, I will check the settings and see if there is something that can be fixed